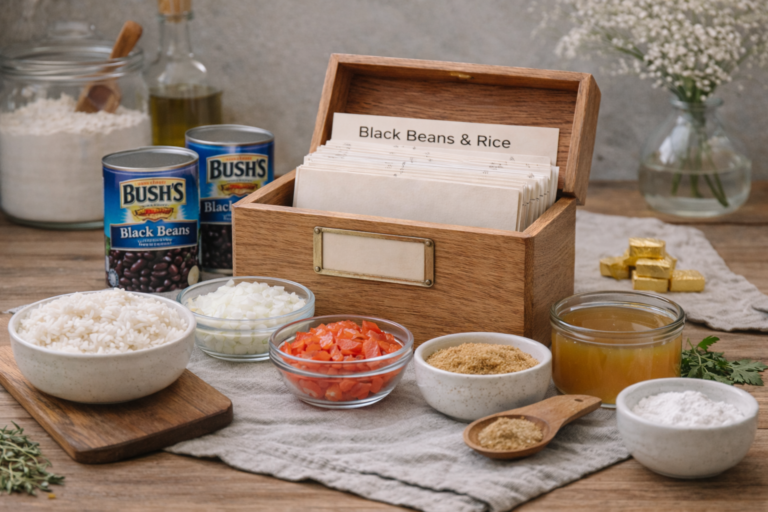
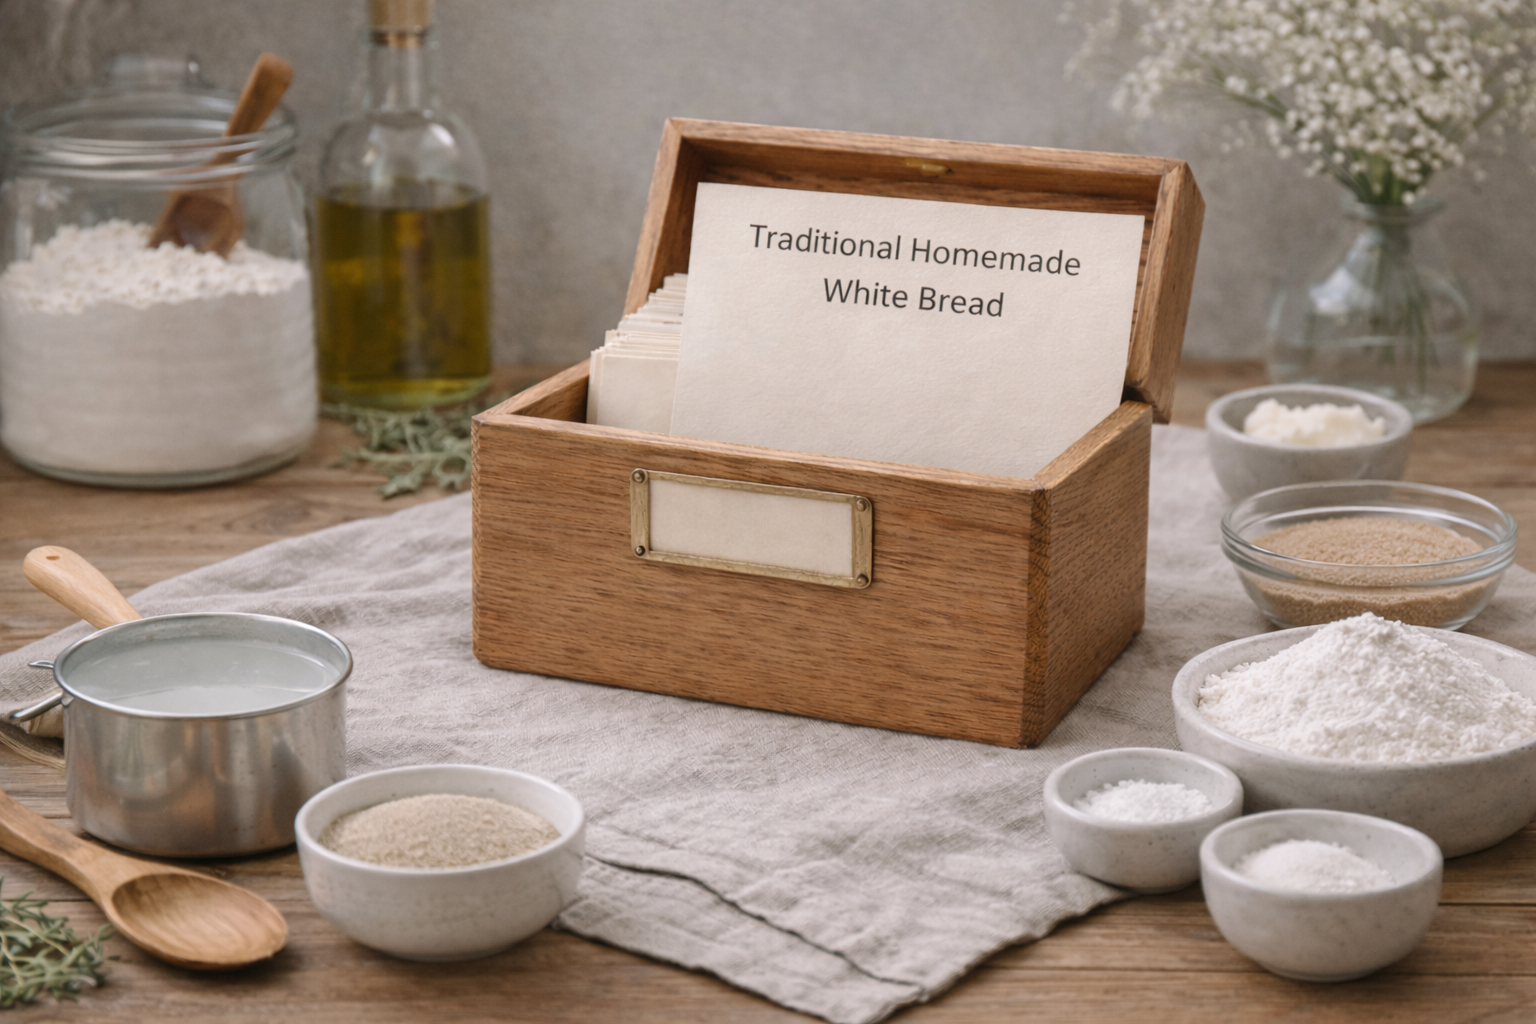
Traditional Homemade White Bread
This homemade white bread is perfect for any occasion, whether you’re enjoying a warm slice with butter or using it to make a delicious sandwich. Its soft, fluffy texture comes from the combination of yeast and warm water, making it a comforting treat that will fill your home with the irresistible aroma of fresh-baked bread.
Traditional Homemade White Bread
This traditional homemade white bread recipe is easy to follow, requiring only a few simple ingredients and 90 minutes of your time. The dough is kneaded, then left to rise before being baked to a golden brown, resulting in the perfect loaf every time.
Ingredients
- 4 1/2 teaspoons active dry yeast (2 pkts)
- 3 Tablespoons granulated sugar
- 2 1/2 cups warm water
- 3 Tablespoons lard, softened or shortening
- 1 Tablespoon salt
- 6 1/2 cups bread flour
Instructions
- Activate the yeast: In a large mixing bowl, combine 2 1/2 cups warm water with 3 tablespoons of sugar. Sprinkle the yeast over the water and let it sit for about 5 minutes until it becomes foamy and bubbly. This ensures the yeast is activated.Add lard and salt: Stir 3 tablespoons of softened lard (or shortening) and 1 tablespoon of salt into the yeast mixture.Mix the dough: Gradually add 2 cups of flour to the yeast mixture, stirring after each addition until the dough starts to come together.Knead the dough: Slowly add the remaining flour, about 1/2 cup at a time, until all the flour is incorporated and the dough is smooth. Turn the dough out onto a lightly floured surface and knead for about 8 minutes, until it’s elastic and no longer sticky.First rise: Lightly oil a large bowl and place the dough in it, turning the dough around so it’s coated with the oil. Cover the bowl with a damp cloth and let it rise in a warm place for about 1 hour, or until the dough has doubled in size.Shape the loaves: Once the dough has risen, punch it down to deflate it. Turn it out onto a floured surface and divide it into two equal pieces. Shape each piece into a loaf and place them in greased bread pans.Second rise: Cover the pans with a damp cloth and let the dough rise again for about 40 minutes, or until it has doubled in size.Preheat oven: While the dough is rising, preheat your oven to 425°F (220°C).Bake: Once the dough has risen, bake the loaves in the preheated oven at 375°F (190°C) for about 30 minutes, or until the bread is golden brown and sounds hollow when tapped on the bottom.Cool and enjoy: Let the bread cool in the pans for a few minutes before transferring it to a wire rack to cool completely. Slice and enjoy!
Notes
- Lard Substitute: If you don’t have lard, shortening can be used instead. The bread will still turn out soft and delicious.
- Rising Time: The dough should be allowed to rise in a warm place. If your kitchen is cool, you can place the dough near a heater or in an oven with just the light on.
- Storage: Store the bread in a cool, dry place. It’s best enjoyed within the first 2-3 days, but you can also freeze it for later use.
- Preheating to 425°F:
- Initial oven heat helps with oven spring: When bread is placed into a preheated oven at a higher temperature, the dough begins to rise quickly. This initial heat encourages the yeast to react rapidly, producing gas and causing the dough to rise (also known as oven spring).
- Sets the crust: The higher heat also helps form a strong crust on the outside, which is desirable for many bread recipes.
- Lowering to 375°F:
- Prevent burning the crust: After the dough has risen quickly and the crust has started to form, lowering the temperature helps prevent the outside from getting too dark or burning before the inside of the bread has fully cooked.
- Even cooking: Lowering the temperature ensures that the inside of the bread can continue baking and cooking through without the outer layer becoming overly hard or overdone.
- Perfect golden crust: A lower temperature allows for a perfectly golden, even crust while the inside remains light and fluffy.